Showing posts with label dresser. Show all posts

Monday, April 1, 2013

Changing it Up…The Evolution of a Little Boys Room {Picture Wall}


Good Morning! It’s Spring Break here and we are going to be spending a lot of time outside working in the yard (I can’t wait …. seriously it’s one of my favorite things!) and hopefully a lot less time on the computer. But before I head out I thought I would share the progress on Mason’s room. It’s been super slow progress but we’re getting there!

Since it’s been so long since I’ve updated his room, here is a picture of what we started with.

DSCN0095


We painted and switched out the furniture. (Remember, this used to be Daxon’s room and then they did a switcheroo.)

100_0766


Added some fun chevron fabric to lengthen the curtains and a memo wall.

2011-01-16 006


And here’s how it looks today. If you follow along on Facebook or Pinterest then you may recognize a couple of the changes. We found his new dresser on KSL (a local classified website), covered his lampshade and added a super fun picture wall. I drool!

100_0994


I mean seriously, giant pictures of my favorite eight year old, framed in rustic pine frames that didn’t break the bank! And bonus … they even graduate in stain color from dark to light. Like I said, I drool!

100_0995


I had the pictures printed off at Staples (they are engineer prints which only come in black and white on thin paper) for $13 bucks for four 24x36 pictures. Can’t beat that! Then I mounted them with spay adhesive on some 1/8” panel board for stability (you really could use anything, we just had some laying around and figured it would work). Once they were mounted on the panel board, I thought it would be nice to protect them with a finish of some sort, so I sprayed one of the pictures with a spray poly. DO NOT DO THIS!!! It totally bubbled the picture. So, I just left the rest alone and figured they were cheap enough that they could be replaced as needed.

For the frames I used this tutorial from Young House Love. They were fairly simple and to make and way cheaper than going out and buying four huge frames.

100_0996


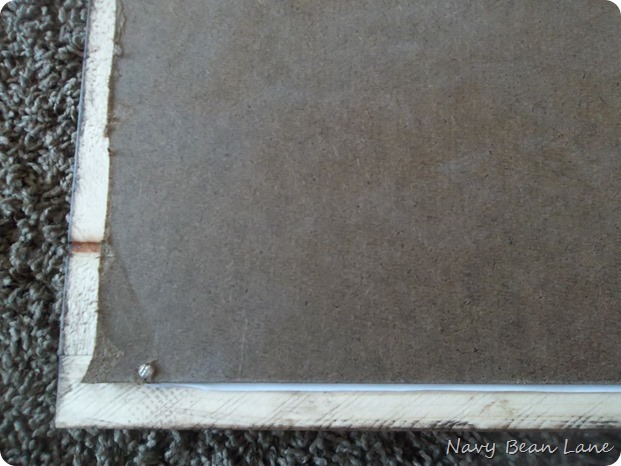
Once they were built, stained, and poly-ed, it was time to attach the pictures to the frames by nailing them right into the back of the frames. Easy Peasy!
100_0979


I then attached the hanging hardware. I used two large picture hangers per picture and nailed them right into the top of each frame.

100_0977


I ended up having to bend the picture hangers a bit before nailing them on because if not they were flush with the panel board and wouldn’t be able to catch the screw when I hung them.

100_0980


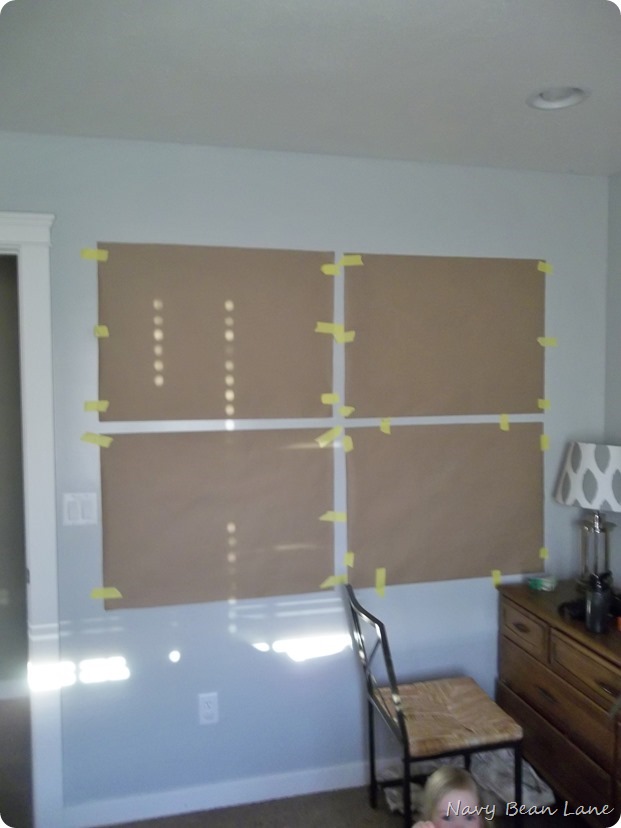
Once they were ready to hang I traced each frame onto some brown paper, making sure to mark on each paper exactly where the nail goes. Then I taped the papers up on the wall exactly where I wanted the pictures hung and nailed a small nail into each spot that I has previously marked.
100_0981


Then, I took one sheet of paper down at a time (leaving the nails in the wall). If I was hanging something light I could have just hung them at this point, but I chose to use wall anchors so that my pictures were nice and sturdy. I then took the nails out and installed the wall anchors in their place and then hung the frames.

100_0983


I couldn’t be happier with the results and may have sat on the bed and stared at them for, um … awhile after I was done!

100_0994


And just because I seem to stay motivated with a list, here is a list of things to still be done! Heaven help me finish this up soon!

Mason’s Room

Paint

lengthen curtains

new dresser

memo wall

plank the desk wall

desk/chair

accessories

headboard

Trophy Organization

Desk Lighting

Art/Pictures on wall

*Bed skirt

*Cover Lamp Shade


Kristin


Linked Up:
Thrifty Decor Chick, Evolution of Style, Lolly Jane (The Scoop),Savvy Southern Style,Not Just a Housewife, The House of Smiths, Somewhat Simple, Living Well Spending Less, Six Sisters Stuff, Tatertots & Jello

Thursday, July 12, 2012

Going Orange! … A Boys Dresser Before & After

 
It has been a lot of fun slowing putting a fun and energetic room together for my two youngest boys. When we decided to have them share a bedroom, I let them name a couple of their favorite colors and promised them that they would somehow be incorporated into their room. Blue, Green, and Orange were the favorites and both blue and green ended up on the walls, which brings us to their dressers. Both of the dressers that we were currently using were hand me downs from friends and neighbors. They were both nice solid wood, but let’s just say they weren’t pretty and they weren’t working at all in the room.
 
I knew I wanted to paint them something bright and fun, and also wanted them to be durable. That’s when Kasey suggested painting them with car paint (remember that’s what he does for a living?) instead of regular old paint. I was a little skeptical at first but decided to go for it … and boy am I glad I did! They turned out amazing and have a lacquered look which I love. They can easily be wiped off and can and have withstood the test of a couple of 4 and 5 year old rowdy boys!
 
DSC03309
 
Here’s the before in all of it’s glory …
DSC02254

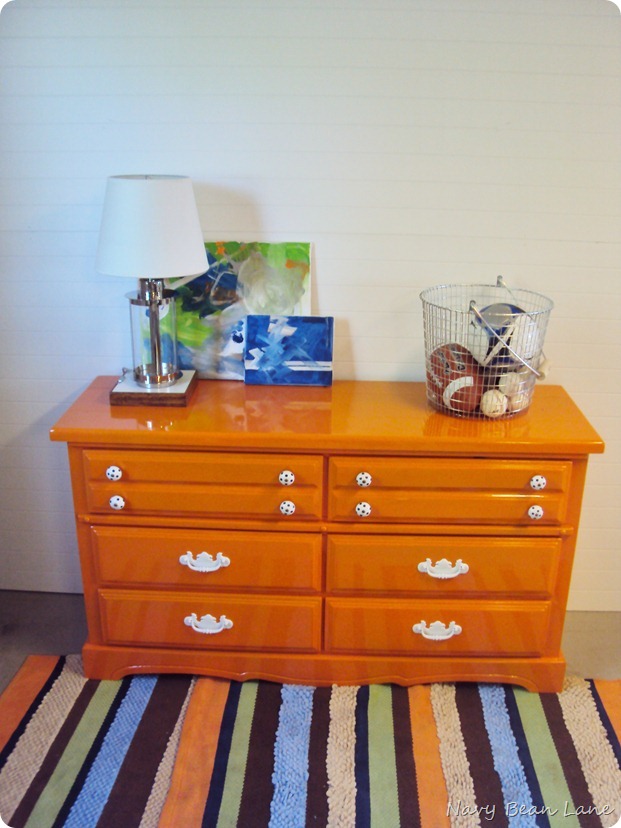
And the after!
DSC03320

The hardware for the bottom drawers is the original painted in a bright white.
DSC03318

And then I found some fun knobs from Hobby Lobby that incorporated a little navy blue (which is all over in their bedroom) for the two top drawers.
DSC03319
 
You can really see in this one how shiny and reflective the paint is. I love how it went from old and drab to bright with a modern edge.
DSC03321
 
I don’t’ know about you, but for me it is always such a rush to see the difference that a little paint can make!


Linked up with

Lolly Jane
TDC Before and After">

East Coast Creative

Tuesday, May 15, 2012

Bedroom Set Before and After

This before and after is actually part of a bedroom, family room and kitchen overhaul that I have been working on with my Mom and Dad. (more on that in another post!) They built their home about 20 years ago and are ready to freshen things up a bit. It’s all coming together really well and I have had my hand on a few projects to help them out.

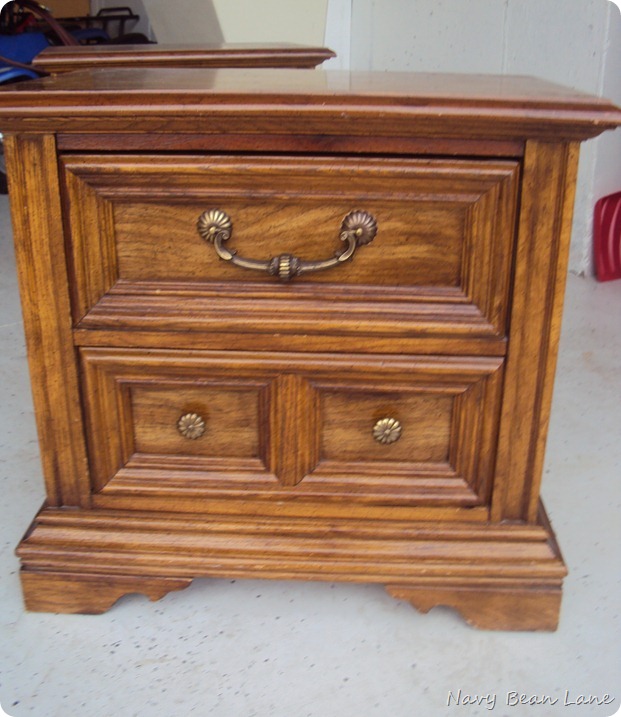
These beauties were what they were using for their bedroom furniture. They picked them up at a garage sale years ago so who knows how old they are, but what we do know is they needed some love!


Before …

DSC02784


DSC02782


DSC02785


DSC02786


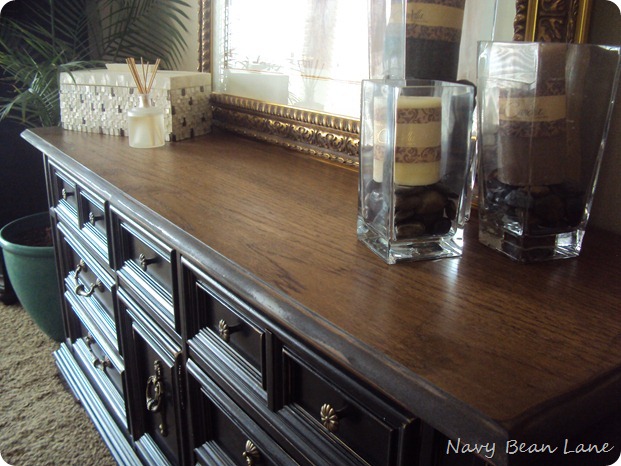
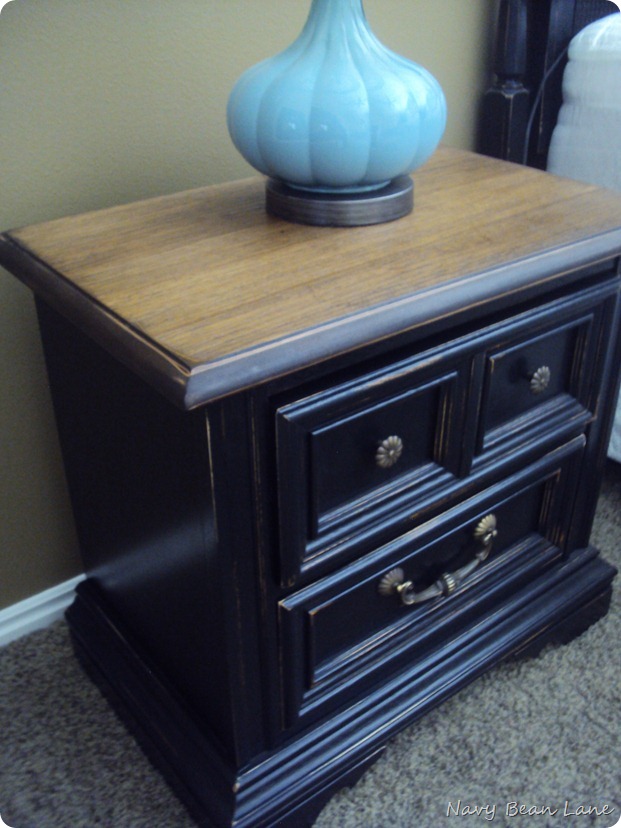
After …

DSC03059


DSC03061


DSC03064


DSC03065


DSC03069


DSC03071


DSC03075


DSC03076

I love the transformation that a little love can do!

We decided to go black with stained tops. I really, really, really (can I emphasize the word really any more??) love how the tops break it up a bit and give the furniture a bit more character.

After debating on hardware, we ended up going with the original, which I think was the perfect match. It was like that hardware was meant for the new finish! And the best part? I didn’t have to do a thing to it! I love the little bit of old with the new … it’s the perfect marriage of styles if you ask me!


The process -

Clean and sand surfaces

Prime with a clear shellac

Paint – Valspar (whatever their true, pre mixed black is)

Distress with 60 grit

Stain tops – Minwax Dark Walnut

Poly by Varathane

Linked with
Thrifty Decor Chick
At the Picket Fence