Showing posts with label Outside. Show all posts

Saturday, November 10, 2012

Winter Wonderland


I wasn’t kidding yesterday when I said it was starting to feel like Christmas. We had snow … but it was pretty wet and soon was melting into a muddy mess.

Then we woke up this morning to this. Ahhh!

100_0744


So we did what any normal family does at 8 am on a snowy Saturday morning. Fired up the four wheeler and did some early family sledding before Dad was off to do his snowplowing.


100_0750


100_0748


100_0749


Yes, this is what I look like first thing in the morning, no make up, and freezing cold. Your welcome!

100_0751


2011-01-05 006


100_0754


We made it through the morning with only one small casualty… in all the snow excitement, the little miss’s lamp came crashing down. We are sad (and when I say we I mean Navi) but will take it in exchange for the smiles that have come with this winter wonderland!

100_0745


If you got snow like we did, go out and play! You won’t regret it! Have a great weekend.

Kristin

Monday, August 27, 2012

Project Side/Back Yard: Part 4


The grass!!! Oh what a difference the new grass makes … it seriously makes me giddy thinking that 1 - I won’t have to spend hours and hours weeding out there any more and 2 – the dirt will finally be a little more contained! (I say a little cause really, I do have three boys … so I’m thinking we will always find dirt. But hopefully much less now!)

If you don’t remember here’s a little refresher picture of how things were looking up to this point. We made a plan, finished up the sprinklers, poured new stairs and a pathway to divide the new grass from the garden.

100_0293


100_0295


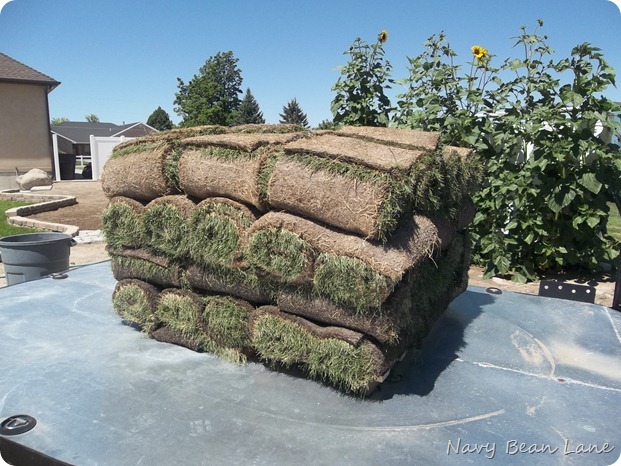
We actually planted the rest of our yard with seed, but figured since this was a considerably smaller area we would go for sod here and just be done with it. After checking around we found it was going to cost about $250 for the sod which was a little more than we wanted to spend considering our budget for the entire project was just $350. Kasey started checking KSL (our local online classifieds) for a better price and finally found some in our area for 100 bucks! At less than half of what we would have paid anywhere else, we decided to go for it.
100_0298


100_0299


After a couple hours of laying and cutting … we were done (YIPEE!!!) and couldn’t be happier with how our little project is coming along!
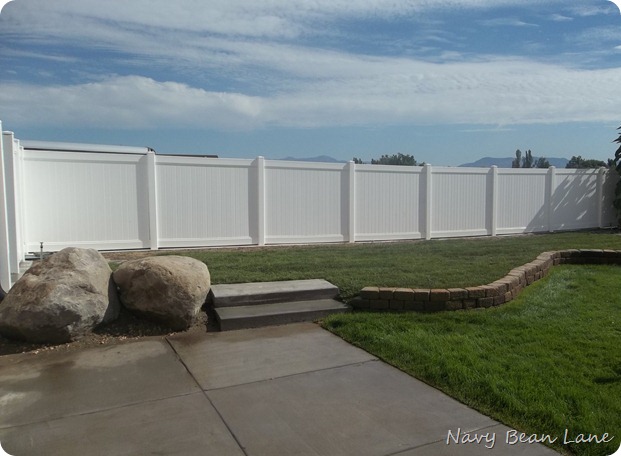
100_0303


100_0306


We left a small planting bed for bushes and/or flowers. I’m not quite sure what to plant there yet, although I do know I want a perennial that will look great in spring, summer and fall. And maybe one that will change color in the fall or flower in the spring. That will be my next mission … to find just the right thing. Any ideas?

100_0310


And just to show you how this is going to help with the dirt being tracked um, well, EVERYWHERE …

DSC03094-001


See! No more dirt directly up against the driveway or patio. Who would have thought something so simple could make a girl so happy?!

100_0311


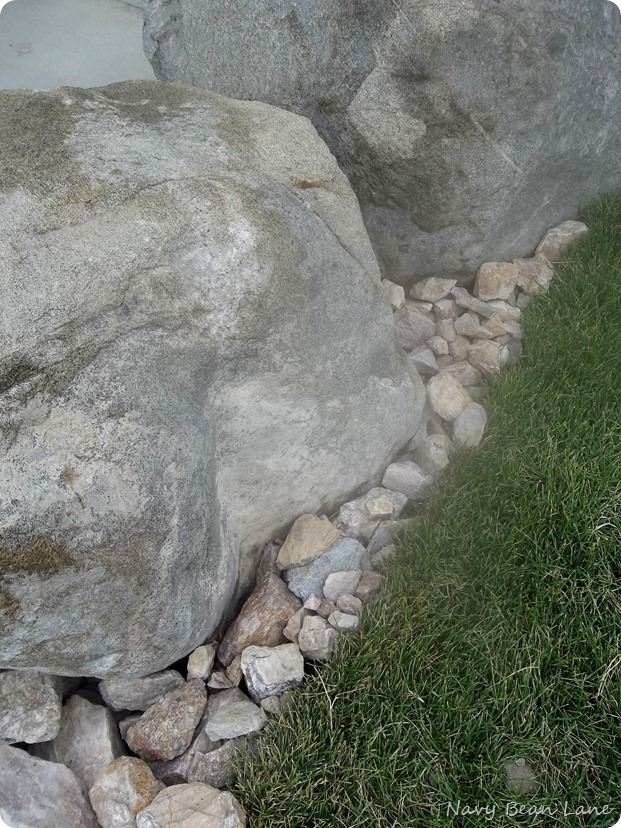
And that brings us to the next problem area which is still contributing to the dirt problem. A while back we filled this little area with gravel and thought it would do the trick. Boy were we wrong. After time the gravel pretty much mixed with the dirt and every time it rained or got wet at all, the dirt would run onto the patio. BOO.

100_0314


We decided the best solution to our dirty little problem was to get rid of the dirt. Duh! Pretty simple. So after a lot of shoveling, and removing 3 wheelbarrows full of dirt, we filled it back in with larger decorative rock ($40 for one scoop or a 1/2 yard). Not only do we love how it looks, but after a couple weeks of watering the new sod 3-4 times a day, guess what?? No more dirt!

100_0334


100_0336


100_0338


We have solved the dirt problem and replaced it with a toad problem – which I am totally ok with by the way. This guy loves to hide in the rocks. Other than the fact that he poops all over our yard (seriously … it’s crazy!) I welcome this little guy over the dirt any day!

100_0323


So as summer is winding down, we are almost finished with project side/back yard! Just some plants and a few finishing touches and she will be D.O.N.E. I just love the feeling of completion and am hoping to get the last couple things done this week. Happy Monday to ya!

Friday, August 24, 2012

Sunflower Gazing


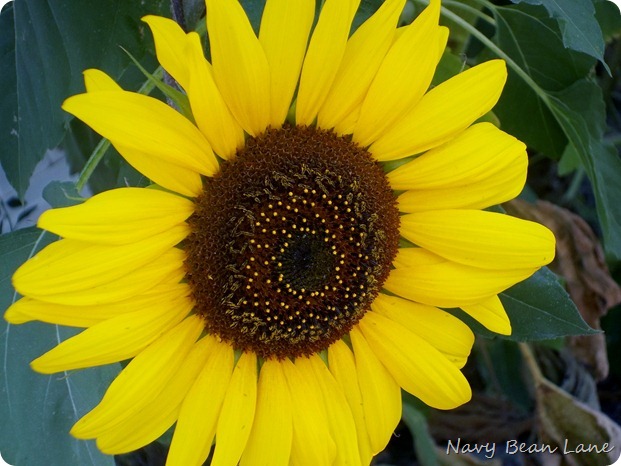
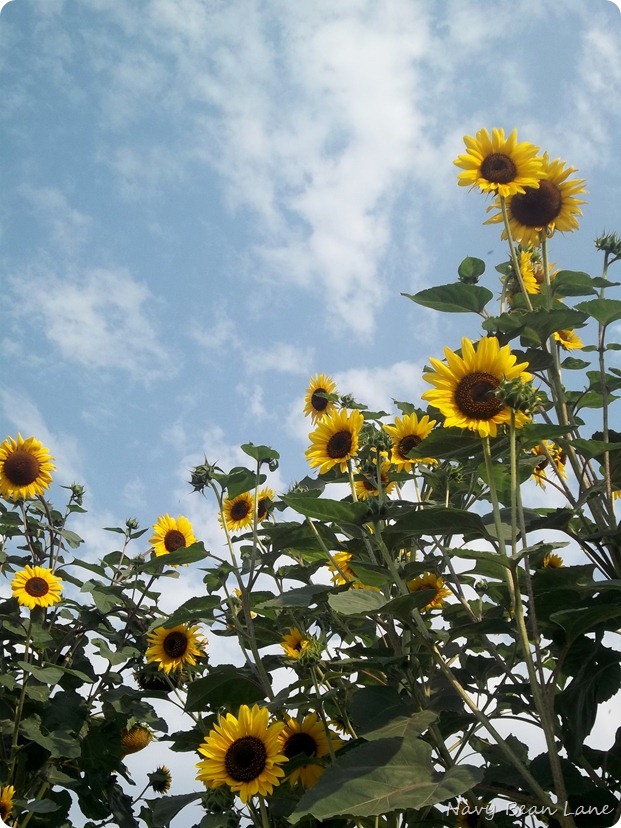
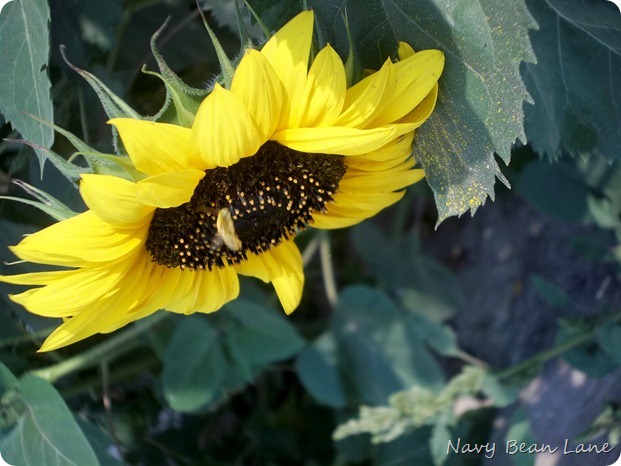
I really can’t believe that it’s almost fall! I am enjoying the slightly cooler temps, the excitement of school fast approaching and gazing at the sunflower patch from my kitchen window. I just love this time of year!

100_0426


100_0430


I have never enjoyed the true beauty of a sunflower until recently. They were my mother in law’s favorite flower, and now I can see why. I love this shot … It looks like they are reaching up to the heavens for Jackie. Yes, yes I believe they are!

100_0431


100_0435


100_0437


100_0440

Anyway, just thought I’d share a little something that brings me joy. Now if only the rest of my garden would have flourished like these sunflowers …

Monday, August 20, 2012

Project Side/Back Yard: Part 3


If you are a new reader or just missed the first two parts of project side/back yard, you can check out part one here and part two here.

Today we are talking about the concrete pathway. I knew we would need something to separate the grassy area from the garden and went back and forth between using some sort of curbing, a railroad tie, or a pathway of some sort. In the end the pathway won for a couple reasons. One, because I have been looking for an excuse to use Kasey’s parents concrete form for something (anything!), and two, I thought a pathway would add a little more visual interest to that side of the yard than just a boring old stretch of curbing. So, pathway it was!

Here’s the form that we used. I like that it is a little more organic looking than others I have seen.

DSC03093


Since our soil is already pretty sandy in that area, we just leveled the dirt out and then laid the form right where we wanted the path to start. Easy peasy.

DSC03095


We used the same bagged quikrete like we used here for the steps. It took about one and a half 80 pounds bags per form. It was pretty simple and straight forward. We just mixed the concrete with water in the wheelbarrow and then shoveled it into the form. Once we had it filled up, we used a small metal hand tool (something like a putty knife would work great) to push the concrete down into all the corners and then to smooth it out a bit on the top.

DSC03096


After letting it sit for about five or ten minutes, it was time to take off the form. (You don’t want it to set up too much or it won’t come out!)

DSC03097


After a few hours of Kasey and I working on it together and then a good 24 hours of dry time, this is the finished pathway. I LOVE it and couldn’t be happier with how things are turning out.

100_0307

Next we will be doing sod and then finishing touches like plants, flowers, and mulch. I can’t wait!

Saturday, August 11, 2012

Project Side/Back Yard: Part 2


Hey friends! How’s your weekend going? I’m here with part 2 of project side/back yard … which is installing the sprinklers and pouring the new concrete steps. If you missed part 1 you can check it out here. To be honest, I pretty much don’t know anything about putting in sprinklers or pouring concrete steps, but lucky for me I have a handy husband who does!

DSC03086


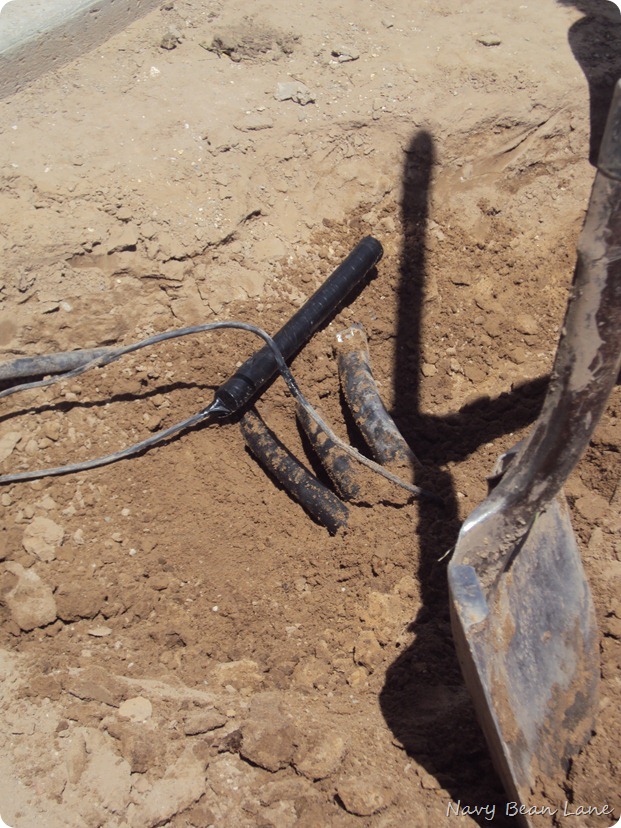
We also decided it would be best to bury the rain gutter downspout pipe to stop the rain water from draining onto our patio and making a mess.

DSC03082


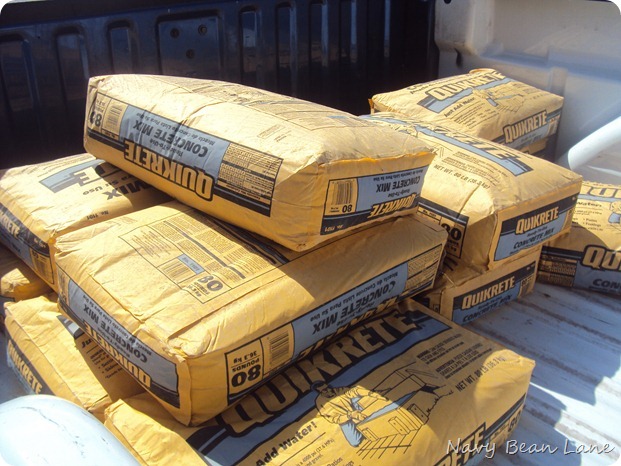
Once we finished the sprinklers and buried the pipe, it was time for concrete. Oh ya! Plain ol’ 80 pound bags of quikrete from Lowe’s, a wheelbarrow, water, a shovel, and a little muscle will do the job.

DSC03091


Kasey built the forms out of some scrap wood we had laying around. We wanted each step to have a pretty good depth since that was the whole reason for redoing the stairs in the first place.

DSC03044


Here he is hard at work!

DSC03043


And the finished product! It’s been so nice to to not worry about the kids (or myself) tripping on the mini paver stairs anymore.

DSC03089


Here’s a view of the progress from another direction. Slowly but surely we are checking things off our list and gettin’ er done! I can’t wait for the finished product!

DSC03094

What kind of things are you doing to improve your yard this summer? Something big … or a few small fixes? I know our list for the yard is never ending. How about yours?

Sunday, August 5, 2012

Project Side/Back Yard: Part 1


We have lived in our home for five years now and have slowly but surely been picking away at something new in the yard each year. This year we decided to focus on the raised part of our backyard which very recently looked like this. Blah!!!

DSC03087


Although the kids found it to be the perfect place for things like mud wars, dumping and driving  their dump trucks, and even an occasional mud bath (no joke!), the husband and I were growing tired of the mud and dirt. And to be honest, if I had to weed that spot one more time I was probably going to freak!

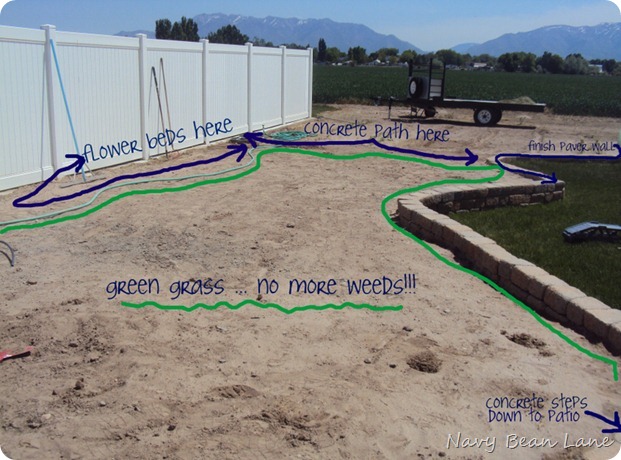
So, we came up with a plan.

First: Install sprinklers for upcoming flowers beds and grassy area.

Second: Take out the paver steps that we made when we put in the paver wall and replace them with concrete steps. The paver steps ended up being way to narrow and you could barely fit a kids foot on each step let alone an adult foot. They were not super safe to say the least.

Third: Pour a concrete walkway to separate the soon to be grassy area from the garden.

Fourth: Grass!

Fifth: Finishing touches like flowers and mulch.


Here’s a visual of what we are thinking. We are hoping to spend less than $350 when all is said and done. I can’t wait to finish it up, but in the meantime I will be back to show you each step as we complete it along the way!

DSC03087


***********************************************************************************************

On a totally different note, I have added a couple of new features to the blog. There is now a pinterest button so you can check out what I am loving right now, and I also added a my cakes tab at the top of the blog. Go ahead and check those out! And if you like what you are seeing, you can make sure you don’t miss a post by becoming a follower! Have a great end to your weekend, I know I will!